Tuesday, December 30, 2014

Hey!!!! Nook over here.

      We finally did it. After two years in our home we finished our breakfast nook. I had added a window to bring more light in, and put up some old tin ceiling from a bar in nearby Cloquet, but that's where it stopped. It's basically been an area for dog food and extra dish towels. The nook tends to collect what we really should just toss away, except the dog food of course.
   
We talked a lot about what direction we wanted to go. We thought authentic, our first choice, but with the new window in there we could do the high backed seats we liked, We kind of screwed ourselves putting in that window. So we quickly went to the idea of benches. We toyed with that idea for about a year, then, without asking my better half, I did a little searching on Craigslist and found the perfect solution. Church pews.
   
      I purchased two 100+ year old church pews from a catholic church in Duluth. They were both 14 feet long, so I cut them down to the length of the nook, about 6 feet, then reattached the ends, no problem at all. They are the most sturdy seats I think you could ever sit in, especially for my fat ass.      

      Now what to do for a table? I had 10, 6 foot, sections of shiplap flooring used in a old Victorian home down the way. It was all full of staples, holes, and tar paper, perfect for a table. In no more than an hour I had the perfect table for our little nook.
     So that was that, all finished but the accessories. That will take a bit, but now we have a nice place to enjoy our breakfast and a little cribbage every once and a while.


Bye bye 1977...hello 1924?

     What was supposed to be a 4 year plan turned in to a 4 month plan. With me and Amber expecting our first child in April we decided to push forward with a few projects before all of our time was consumed with baby. The first? Take down all the plywood siding that was put on sometime in the mid 1970s. The siding wasn't in bad shape, but with a 12 inch reveal, it didn't fit the style of the home. To my surprise the 90 year old siding just underneath was in great shape, and only had 2 layers of paint on it, better yet, it was cedar, with a 2.5 inch reveal. And so it began, this project we wanted to do a side a year, we did in a side a month.

     I borrowed some scaffolding, set it up, and was on my way. I used a hammer and simple pry bar, one side took me about 4 hours to remove the siding, lathe (which was used to level the 1970s siding) and all the nails. Like I said, the 90 year old siding was in great shape, better than the stuff that was nearly half its age, so not a lot of repairs. Unfortunately when they installed metal flashing and window trim they cut the drip edge off all the windows, so that's what I spent the majority of my time on. Some of the wood was rotted along the chimney stack and front porch, as well as around the front (east facing) window, which sees most of the exposure. I hand scraped every square inch of our house, no pressure stripping, some heat stripping with an infrared paint stripper I made myself our of a restaurant salamander, everything I can do to help the new paint stick.
    
 All repairs done, now time for paint. Being that our house is one of the tallest on the block, we didn't want to get too bold with the colors, also, we're trying to stay as close to the 1924 original as we can. That being said, the house has been white its entire life, and that's fine, we'd stay with white if the shingles on the house were anything other than the black they are. I would love a white house if we had green shingles, but they were replaced just before we moved in, so that won't be for 30+ more years. So what to do? There are lot's of grey, tan, white, and brick houses in our neighborhood, and only a couple of green houses and no yellow houses. We naturally leaned towards yellow, but after testing a couple spots on the house we realized that it wasn't going to work. A warm color like that on such a big house, on a corner, was a bit much. So how about green? That's my wife's favorite color, so after testing every green we could find we finally settled on one. Sherwin Williams Hardware 6172, which is almost a grey color. We kept going back and forth between 6172 and one shade darker Cocoon 6173. We decided the lighter of the two would look better on a larger scale. On our window trim we went with Aesthetic White 7035, and window detail almost black with Andiron 6174.
     All the hard decisions were made, we scheduled time to do the deed. Unfortunately, living in northern Wisconsin, we had a deep freeze come pretty early this year. It came 3 days before we were to prime the house. So that's where we are with that. It was kind of cool around Halloween, our house looked like an old haunted house with all the scraped wood, but we are looking forward for spring. The house will have a new fresh coat of paint, and we'll have a new baby to show it to. Here's to the new year.


Monday, January 13, 2014

Let there be light.

So, remember those two windows we found on either side of the fireplace, and the piano window on the back side of the house? Well, we finally ordered and installed new windows. We went with standard, single panel windows, no bells and whistles, they don't open, just window and frame.

To start off with I measured the openings for each window, the two by the fireplace were exactly the same size, the piano window was same height, but about twice as wide. Sent the order in to Menards, then waited a week. I was so excited to put them in when they finally arrived, but Amber asked that I finish a couple of the projects I had already started before I go on to anything else. So, two months later, and I'm finally ready to install these three windows.


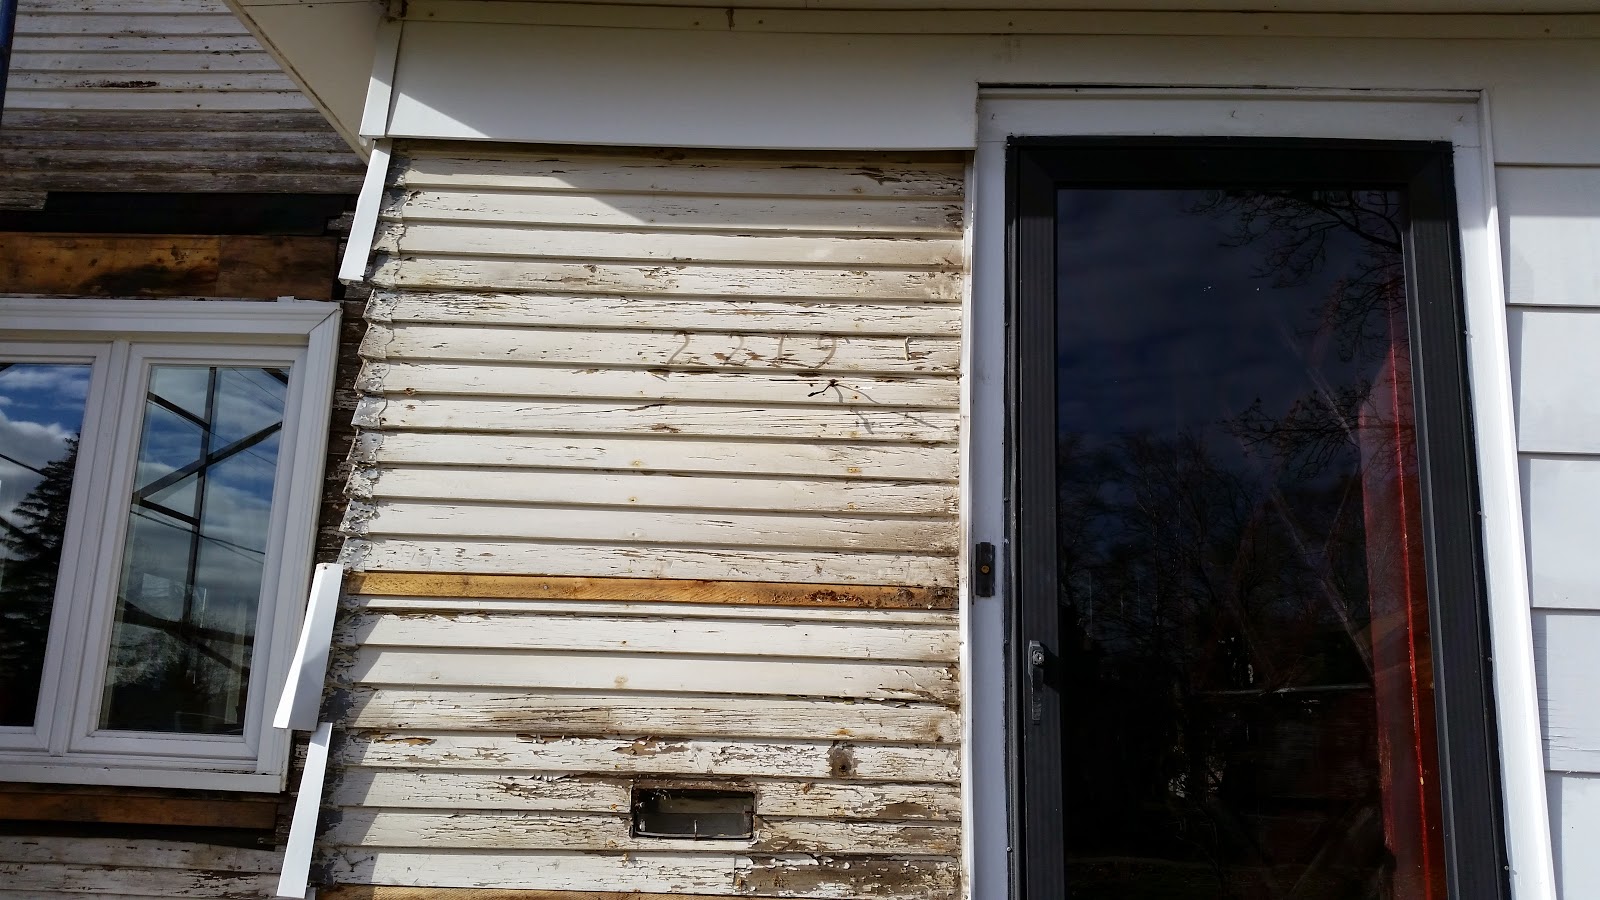
I started by taking off the siding covering the windows, then taking out the insulation and 2x4s that were put in to fill the frame when the original windows were taken out. Easy enough, everything came out as planned, but who ever did the work originally way over did it with the nails. So much so that it chewed up the original frame pretty bad, but nothing that couldn't be fixed.


Now I have 3 gaping holes on my first floor. I unwrapped all the windows, cleaned them up, and went for a dry fit, and guess what? They didn't fit. I measured exact size, didn't give myself any wiggle room, so what do to? I thought about it, they were about 1/16 to 1/8 inch too big, and vinyl, could I plane them down? Would it ruin the window? I thought I'd give it a try. I planed off a bit from the side that was too long, it was really a bit of extra vinyl from the process of making the window that was the problem. Went for another dry fit, still too big, so I took off more. A few more passes with my dad's electric planer, and another dry fit, this time it worked. It took a little muscle, but I got the first window in.

Now, how does one attach these windows? They came with no installation instructions, and they were basically small bay windows, no tab to attach to anything, no place to drill holes to screw them into the window frame. The only place that looked like there was enough  material was on the exterior, and I didn't really want to drill holes into the exterior of my brand new windows, so I improvised. There was a small channel on the inside of the window that I knew would be covered up by trim at some point, so I thought I'd basically toenail them in place with screws. I did a little research, talked with a construction buddy, and my Dad, they all seemed to be OK with it. So I tested it out. I put 4 screws per side, directly into the original frame. I tested the first window, just to make sure I wouldn't have a window on my livingroom floor during some crazy blizzard. My pushing, banging, and muscle didn't seem to do anything to the window, it was solid, it wasn't moving. My father in-law told me I should just hire a professional and laughed at my work, I said nothing and thought, "If I only had the money." The other windows, after planing, went in just as quick. Of course I insulated, trimmed both the interior and exterior to its original form, and caulked anywhere that needed it.

So that's that. They look great. Our neighbors stopped by after they were installed and complimented me on my work, and how happy they were that we were doing all this work to the house. One neighbor even commented that he wouldn't have put windows in, that there's nothing better than a nice dark living room. I thought he was joking, but his wife said no, not a fan of light. The light these windows let in is just amazing, it changes the entire feeling of our home. Our new dog has even taken to taking his naps in the sunlight that is now let into our dining room and living room.

Now we have three new windows, two that probably had some sort of leaded glass in them originally, and a piano window that needs a piano. I guess I need to start perusing Craigslist for an antique piano, and start taking piano lessons.


Tuesday, December 3, 2013

We got ourselves a new stove...sort of.

We've spent a very long time without a stove at the house. Originally the house came with an electric stove from the 1960s, half the burners worked, and the regulator for the oven was all screwy, so we just asked the previous owners to take it out when they moved.

After much searching for the perfect stove we were finally lucky enough to come across an early 1950s Magic Chef stove on Craigslist, just about a 5 minute drive from our house. It was being used as a canning stove in the previous owners basement, and hadn't been in use for years. They were trying to sell it for $500, but after a little research, and some price comparison, we felt $250 seemed like a better price. So we offered, they accepted, and the next day we drove down the street and picked it up.
It was a bit of a chore getting it out of the basement, but it wasn't quite as heavy as I thought it would be. I guess it makes sense now, these older stoves are really simple, no digital panels to break down, , just some knobs and a thermometer, oh, and a really cool clock/timer as well as a wheel with various suggestions for cooking times and temperatures for different meats and puddings.

Before I installed it I did bring it down to a local oven repair shop to have it tested for leaks, lucky for us nothing came up bad. The salesperson was pretty excited for us, as the stove was in perfect condition, apart from some grease a little rust on one of the broiler handles.

So we got it home, it took a bit to get the right size fittings in place, then hooked it up to the gas line that we had installed before we moved in. The only issue we're having with it is that it's 36 inches wide, a about 2 inches too wide for it's current location. The location is temporary, as we're moving the stove to an outside wall, but that's not going to happen until we figure out what we're doing as far as cabinets go.

My suggestions, go vintage, post WWII, but nothing past 1960, and go gas. You can find them for pretty cheap, especially compared to newer models, plus they almost never break down. I even had a chef friend of mine say that our stove was putting off almost as many BTUs as some professional kitchen stoves.


Saturday, June 1, 2013

Bring that paneling down

So the entire downstairs, besides the foyer, is covered in 1960s wood paneling. Now I'm not bashing wood paneling, it has it's place, but not through out the entire downstairs of a home. It gets to be a little much, feels like you're hanging out in your grandparents basement all the time. When we did our walk though on closing day the son of the the woman who previously owned the place mentioned that he had used Murphy's Oil and shined up all the paneling for us, and without hesitating I mentioned the paneling wouldn't be staying long.

So the process started, unfortunately is was both glued and nailed to the original plaster, just as it was in the kitchen. A sharp utility scraper helped out a ton in this situation, and it didn't take long to get the first few 4x8 sheets off the wall, and to discover a couple of really nice surprises.

First, on the back, west wall of the house, where we were planning on putting a couple french doors to lead out on to a deck, we discovered a piano window that had been hidden under the paneling 50 years previous. Since we're trying to do an authentic restoration on the house I didn't have a choice but to keep the window, so that was surprise #1.
Hello Mr. Window
Now on to the south facing wall, which has a fireplace on it. Again, we took down the paneling and discovered a couple of nice surprises, two square windows flanking either side of the fireplace. So again we're keeping them, I can't wait to see how much light these 3 extra windows are going to add to the downstairs. Part of me doesn't understand why they would cover up all these windows, I suppose the trends of the 1960s had something to do with it.


Friday, May 31, 2013

First trip to Menards

Some painter's tape, fire brick caulk, locks, and a furnace filter.

Kitchen time.

And so it begins
The kitchen was a disaster, we could have lived with it the way it was, but the wallpaper gave us both vertigo. Nothing about it, the colors, layout, and otherwise reflected our style, plus the dropped ceiling made the kitchen feel no larger than a cardboard box. We had to start working on it ASAP.
Found these behind some cupboards

                                                           
Amber's first house project...ever.


Wall paper backsplash gone.
Time to take down that dropped ceiling

The nook is already looking better.


A nice little surprise, turned out to be dead.
A little water damage from the bathroom up above

More water damage


Paint color under the paneling, not the original, but the second color, probably from the 1940s.

Ceiling down

Must be where the original phone was. You can see the original salmon color from the 1920s.


Second little surprise. Dropped drywall ceiling at side entry.

The liquid nails used for the paneling was a pain, but it came off easy once I had a sharp scraper.

Nice little present behind the fridge.

More of the water damage.